Image Converter: User Guide
Make a Donation
Quick Guide Video
Selecting an Image
Converting an Image
Create Icons
Select a Save Location
Make a Donation
RentASoft Image Converter is given away for free, if you like the program please consider making a small donation.
To make a donation to the RentASoft Image Converter development, please click on the button below.
Thank you.
Make a DonationQuick Guide Video
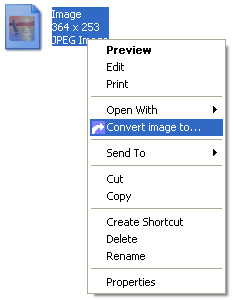
Selecting an Image
Simply right click on any image and click "Convert image to...".
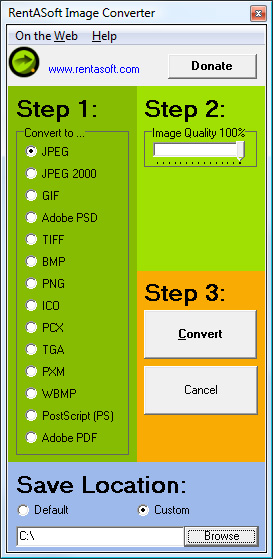
Converting an Image
Once you have selected an image to convert, you can then choose what image type you would like the image converting to.
With some of the image types you can also select the quality of the converted image should be.
Once you have finished adjusting the settings, click on the Convert button and your new image will be created.
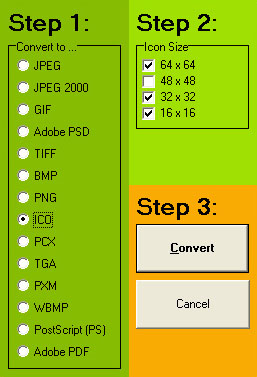
Create Icons
Select icon as the image format to convert to. In step 2 of the wizard you can now select as many icon sizes as you would like to create.
Once you have finished adjusting the settings, click on the Convert button and your new icon will be created.
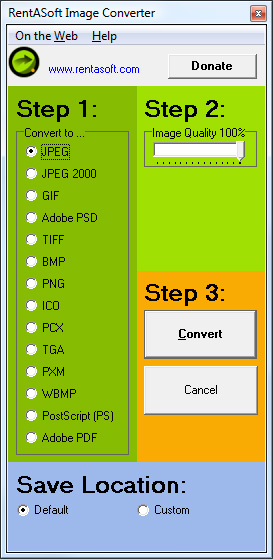
Select a Save Location
You can select which folder you would like your converted images to be saved in. Simply select Custom from the bottom of the window, then click browse to select the folder.
If you select Default as your save location the converted images will be save in the same folder as the original image.